
The big day has arrived. It’s not too windy, the sun is shining, and we have about five gallons on sap to boil.
We like to boil small batches at a time. It will take about 4 hours of boiling for this amount of sap, but there really isn’t much to do during the bulk of this time.
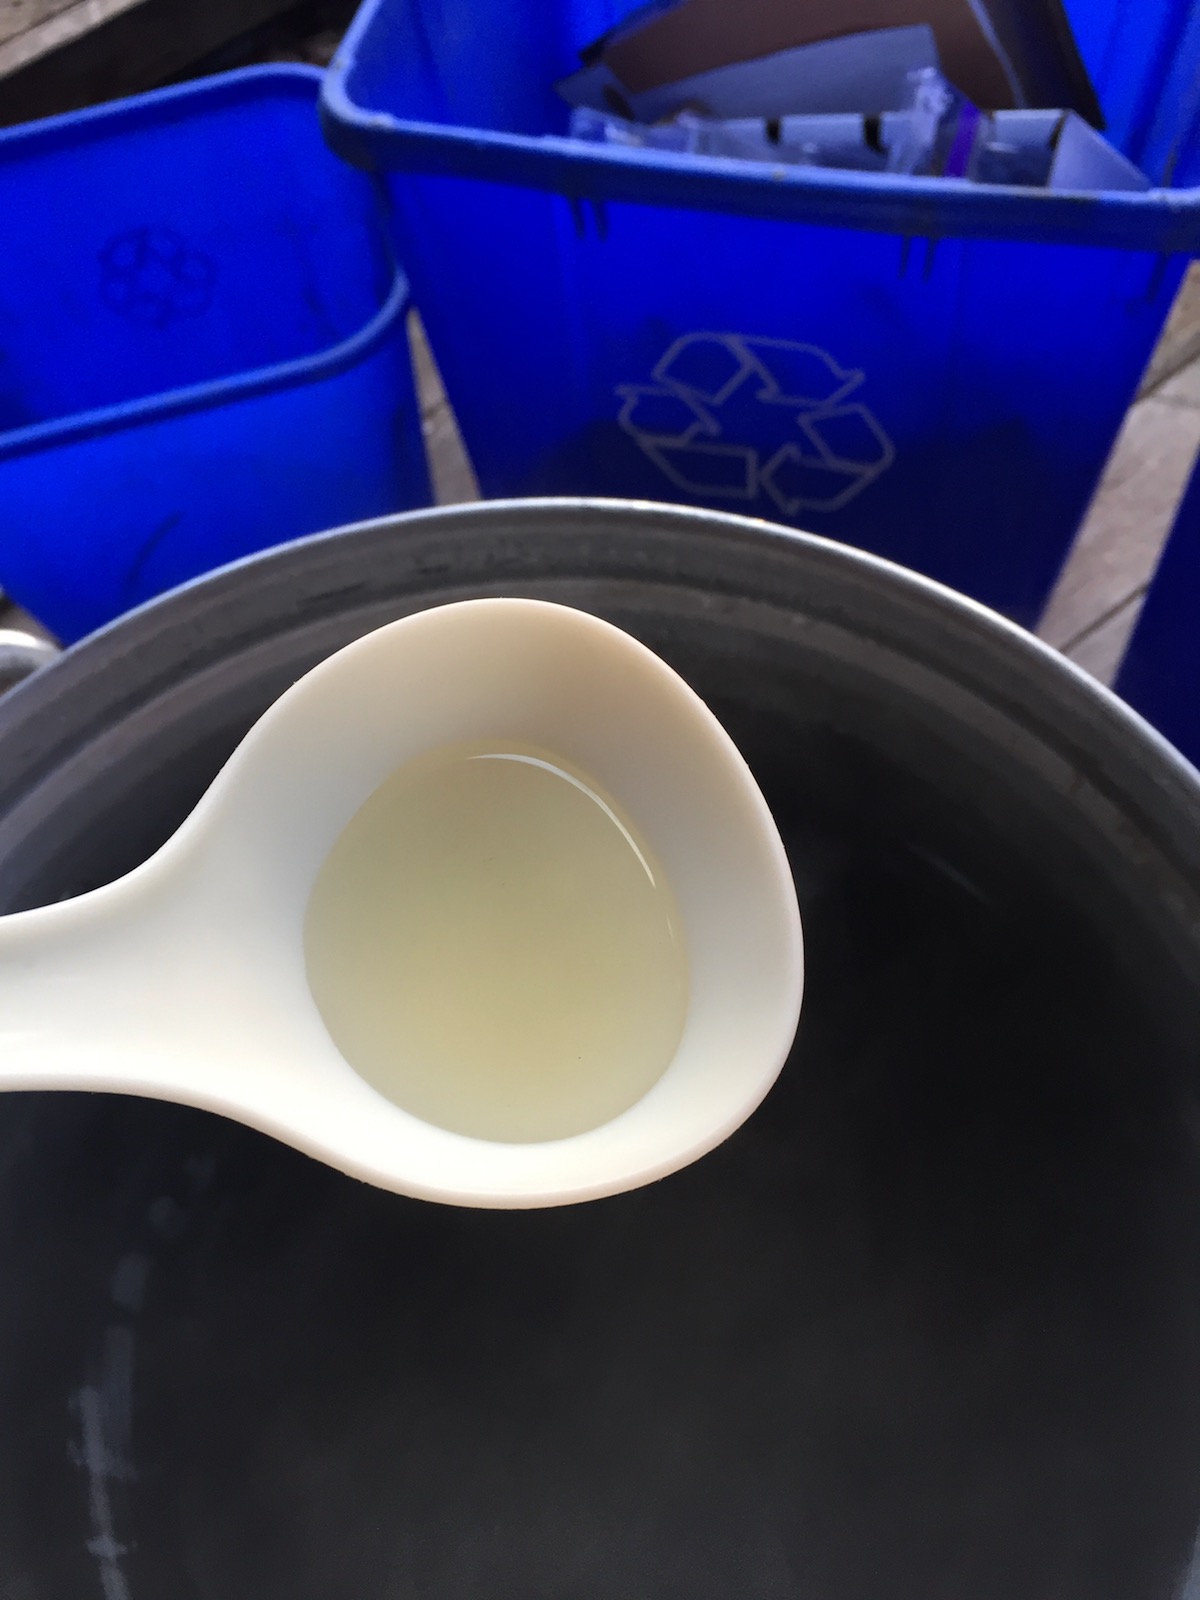
You can see in the photo below that the sap is quite watery and light in colour, but this changes as we boil the sap down during the evaporation phase.
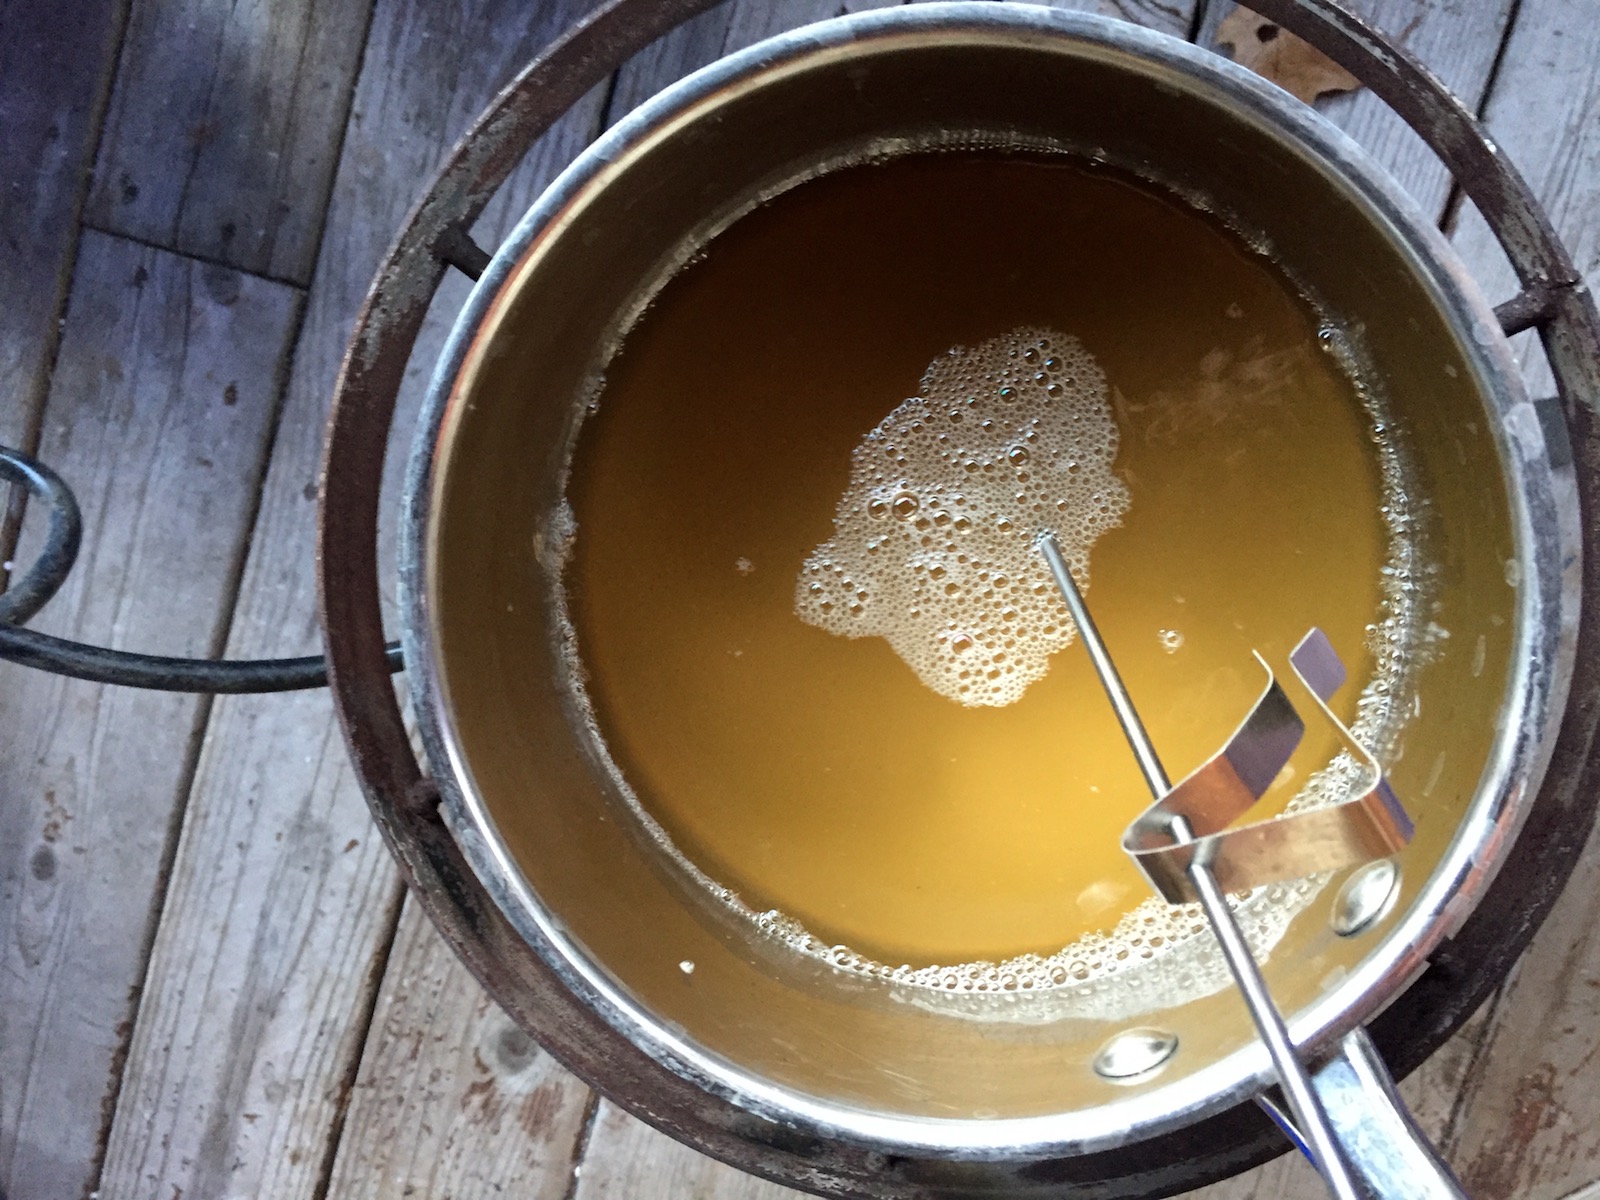
Once the amount in the big pot is reduced significantly, we transfer the reduced sap to a finishing pot. It will be easier to monitor and we can also insert the thermometer without steam-burning our hands and having our glasses crust over with sugar vapours.

You can see how much darker the sap is by now. A cautionary note: if you ever end up with sap that you would like to boil, do not try to do this indoors! Your kitchen will be coated in sugar in no time! This is potent stuff.
Back to boiling; now we need to pay close attention so that we don’t overcook our sap. If you do overcook it you will end up with crystallized syrup. Not a huge tragedy, as you can still make maple sugar, maple butter, or maple candy if this happens.
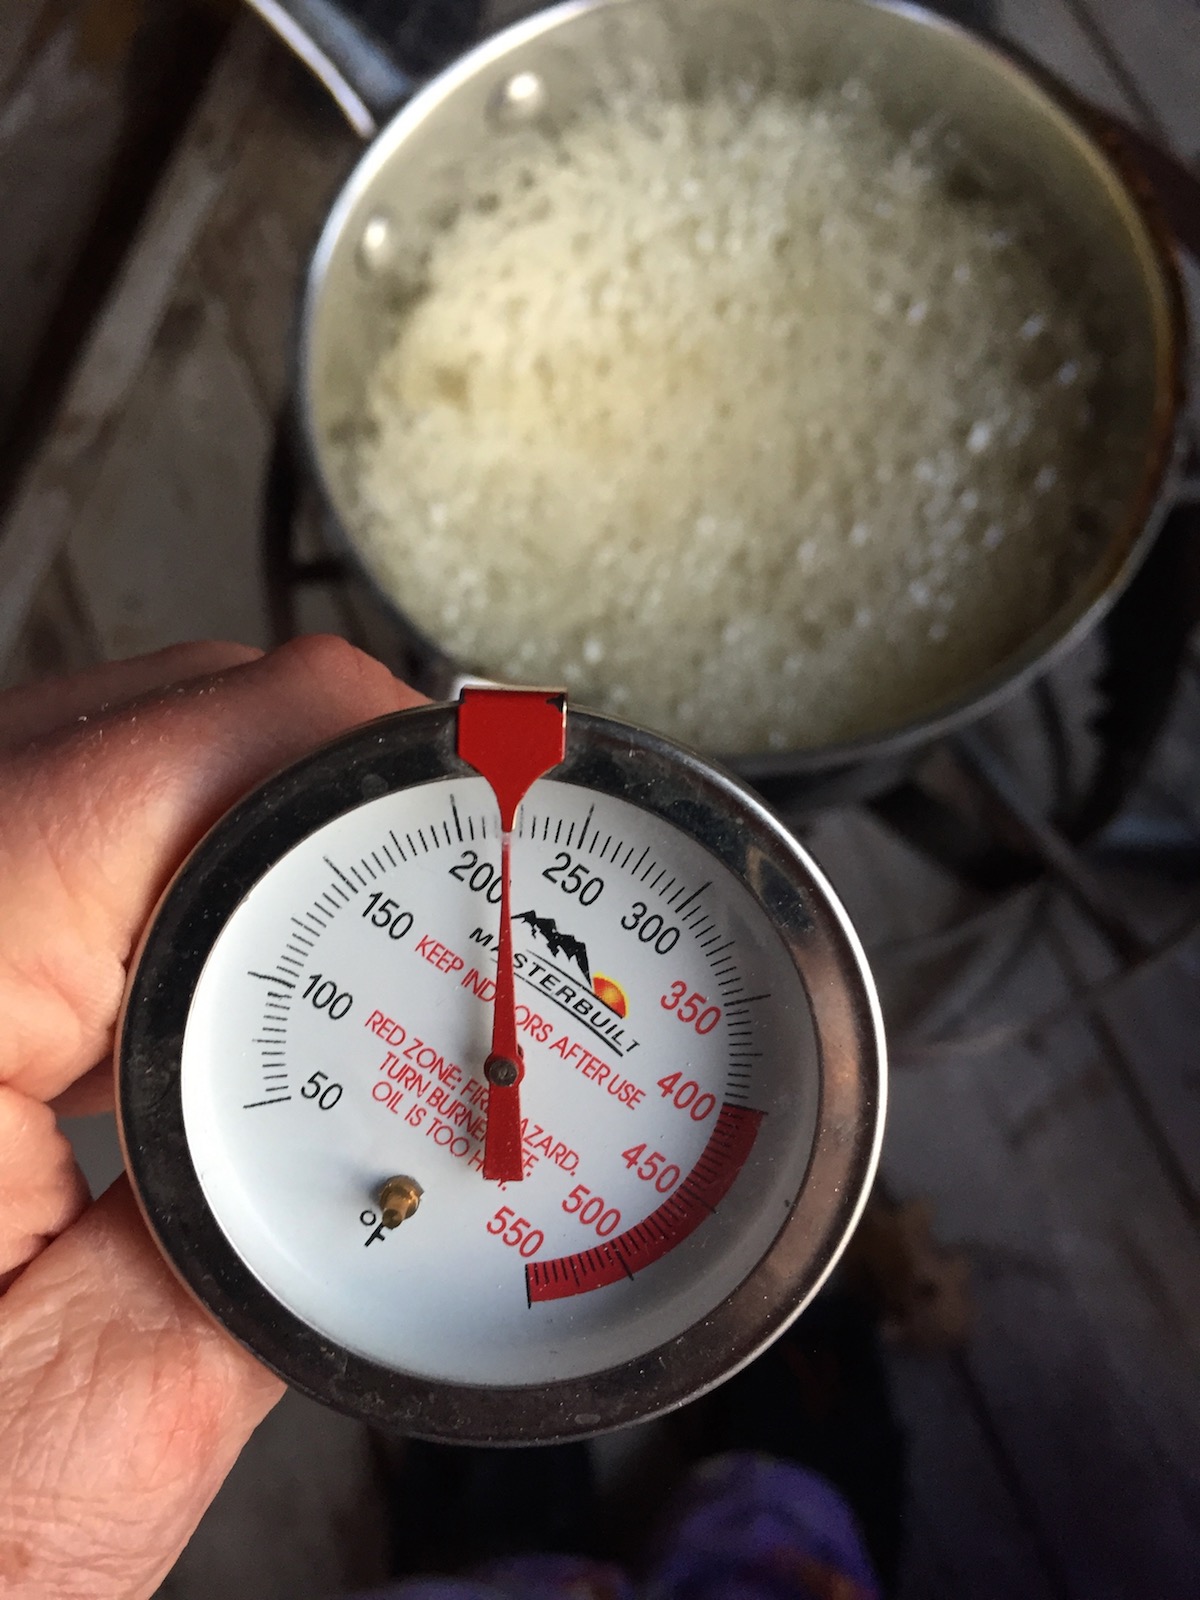
The rule of thumb is to boil the sap until it reaches 219°F, or 7°F above boiling. Your boiling point changes based on elevation and air pressure. At sea level, water boils at 212 °F (100 °C). For every 500 ft increase in elevation, water’s boiling point is lowered by approximately 2.8°F (0.5 °C). We use the thermometer to tell us when we reach this temperature, but we don’t rely solely on it.
The most certain way to tell when maple sap has become maple syrup is to measure the amount of sugar in the syrup with a hydrometer. When the sap reaches 66.9% sugar, it is then maple syrup.
Well, we don’t have one so we use a third method.
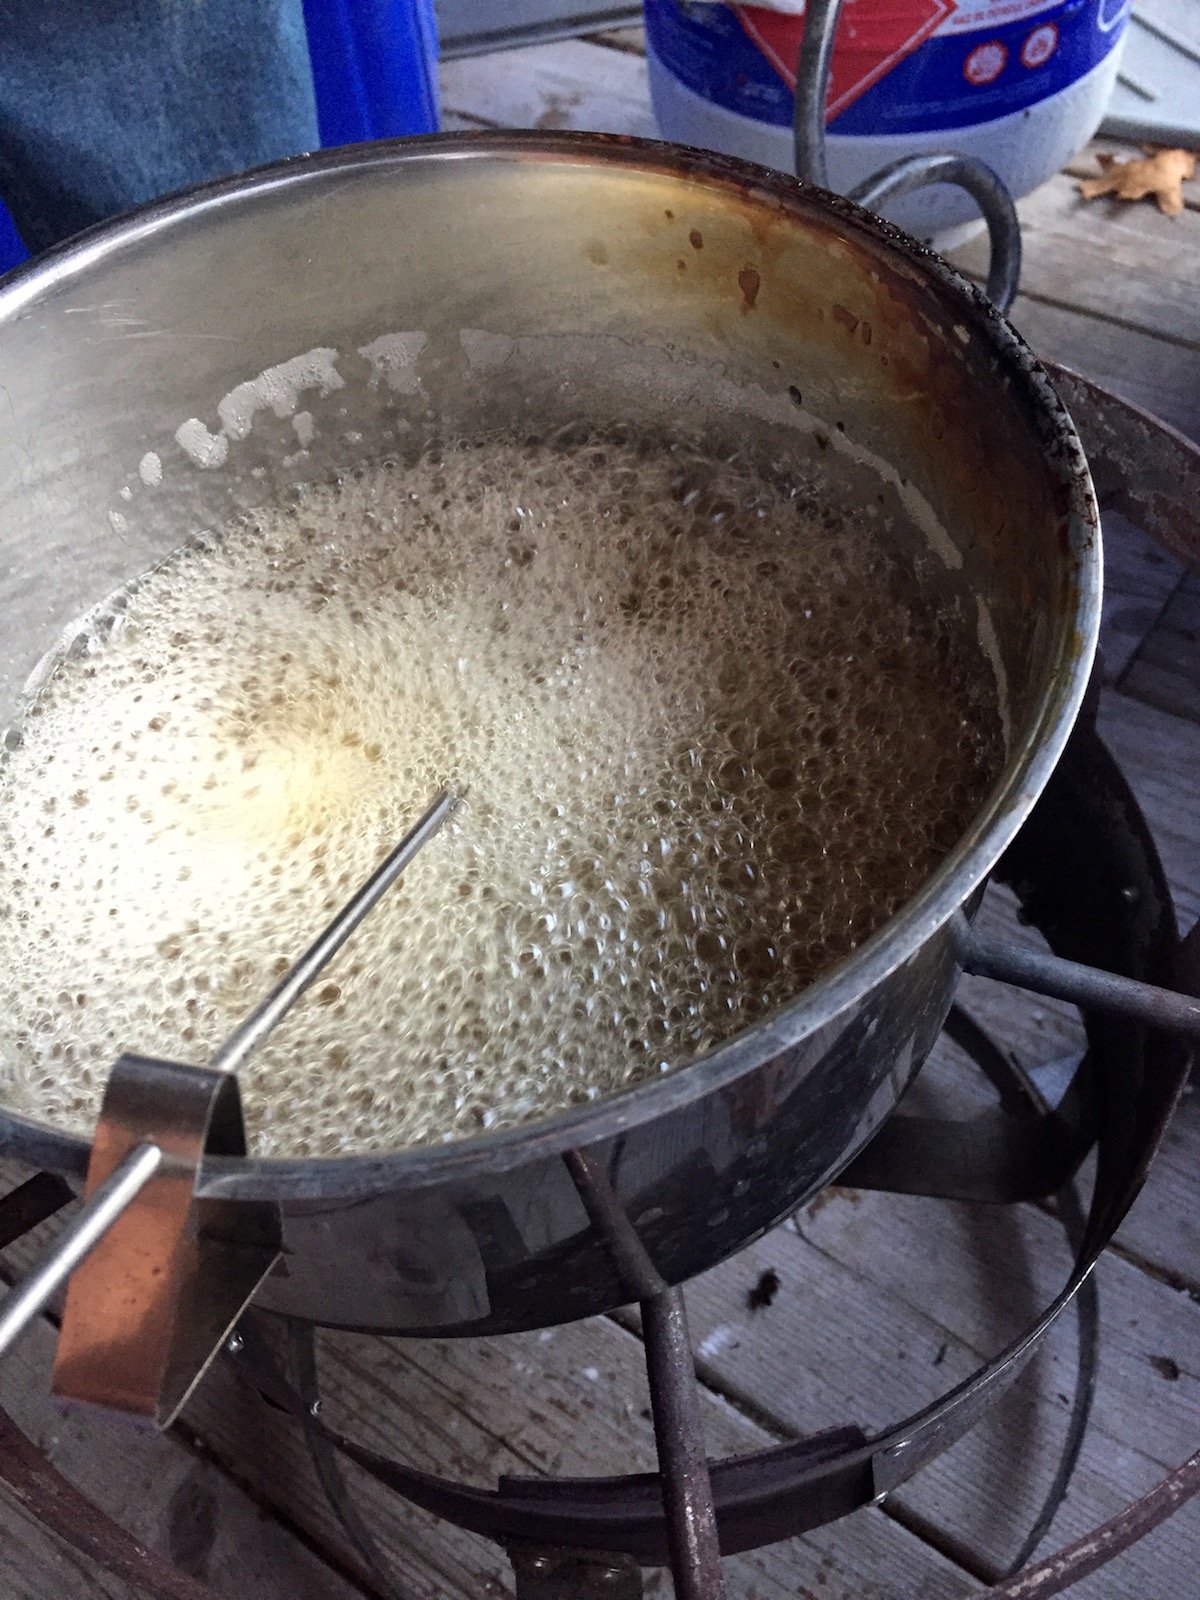
We use a more intuitive method, which worked for us over the years. The sap becomes syrup when the bubbles change into small, dense bubbles.
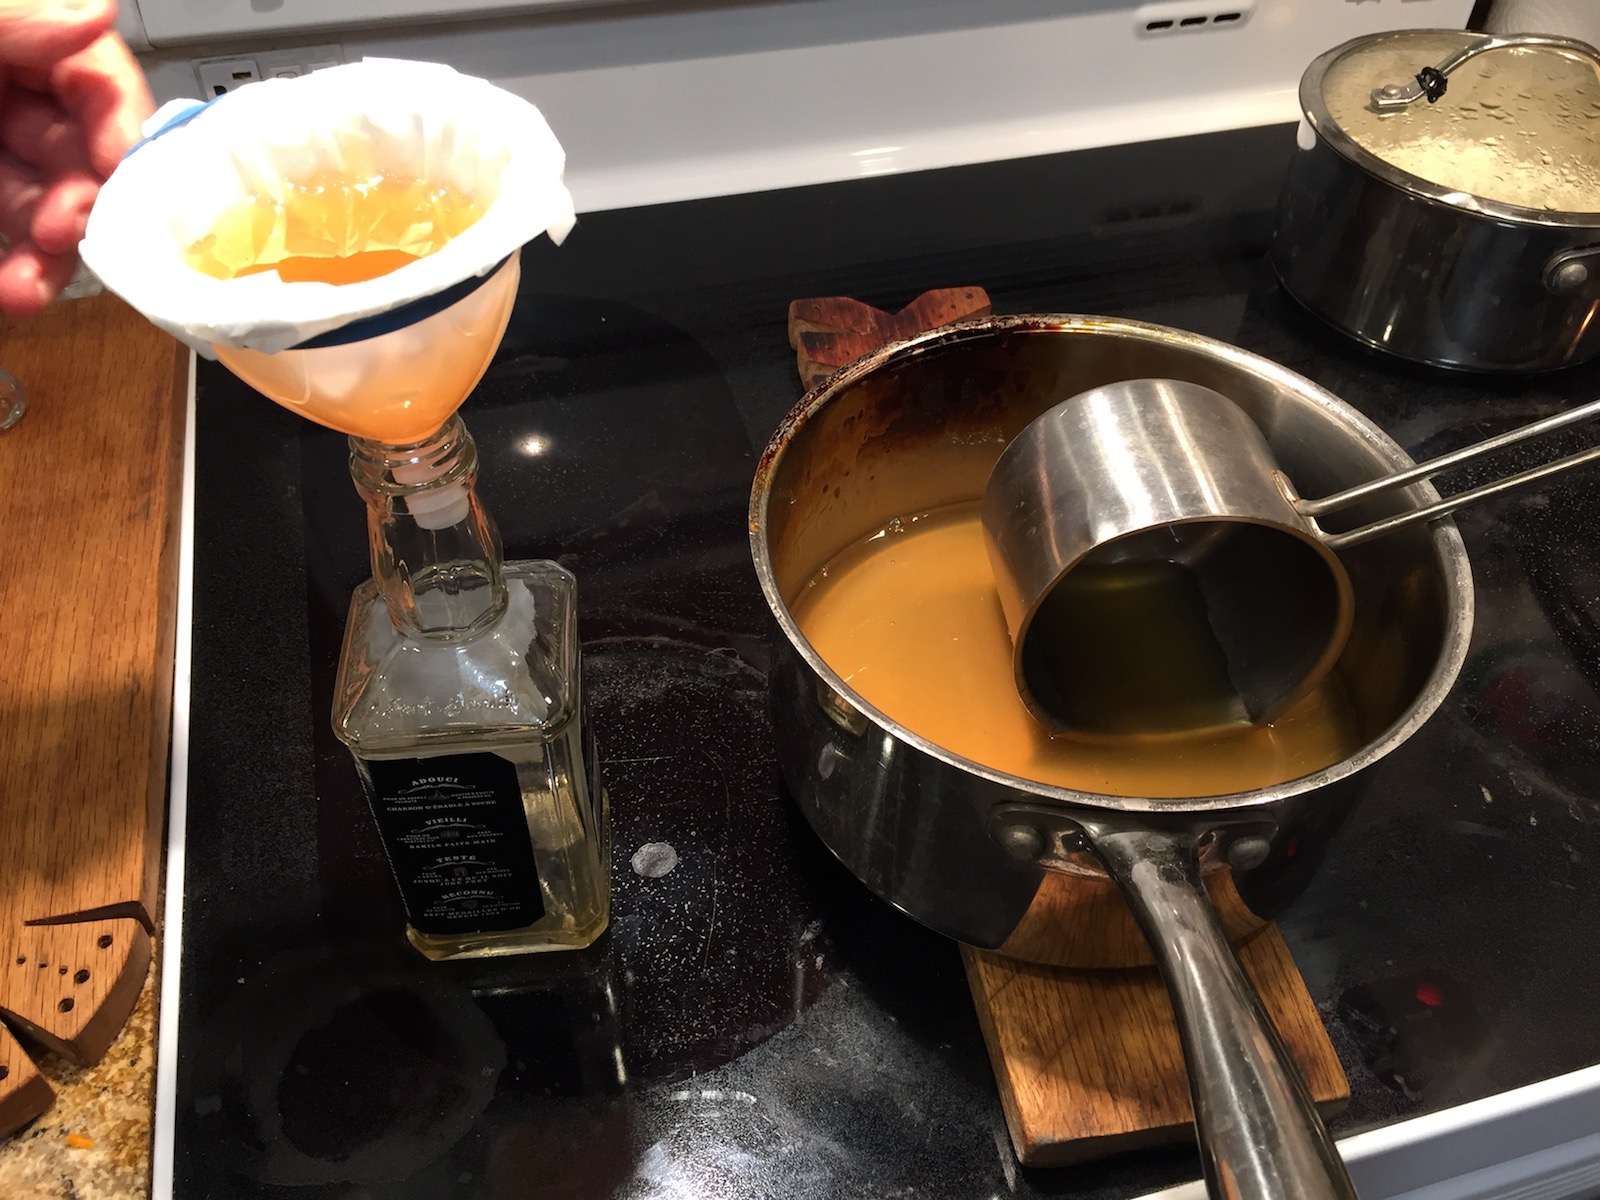
Before boiling, we filtered the sap through cheesecloth to remove small twigs and other undesirables. Now we can go through another step to remove the sugar sand. Sugar sand is not sand at all. It’s the tiny sugar particles that resemble sand and may form a sedimentary layer at the bottom of your bottle.

We do this every time. Start off filtering it through coffee filters,
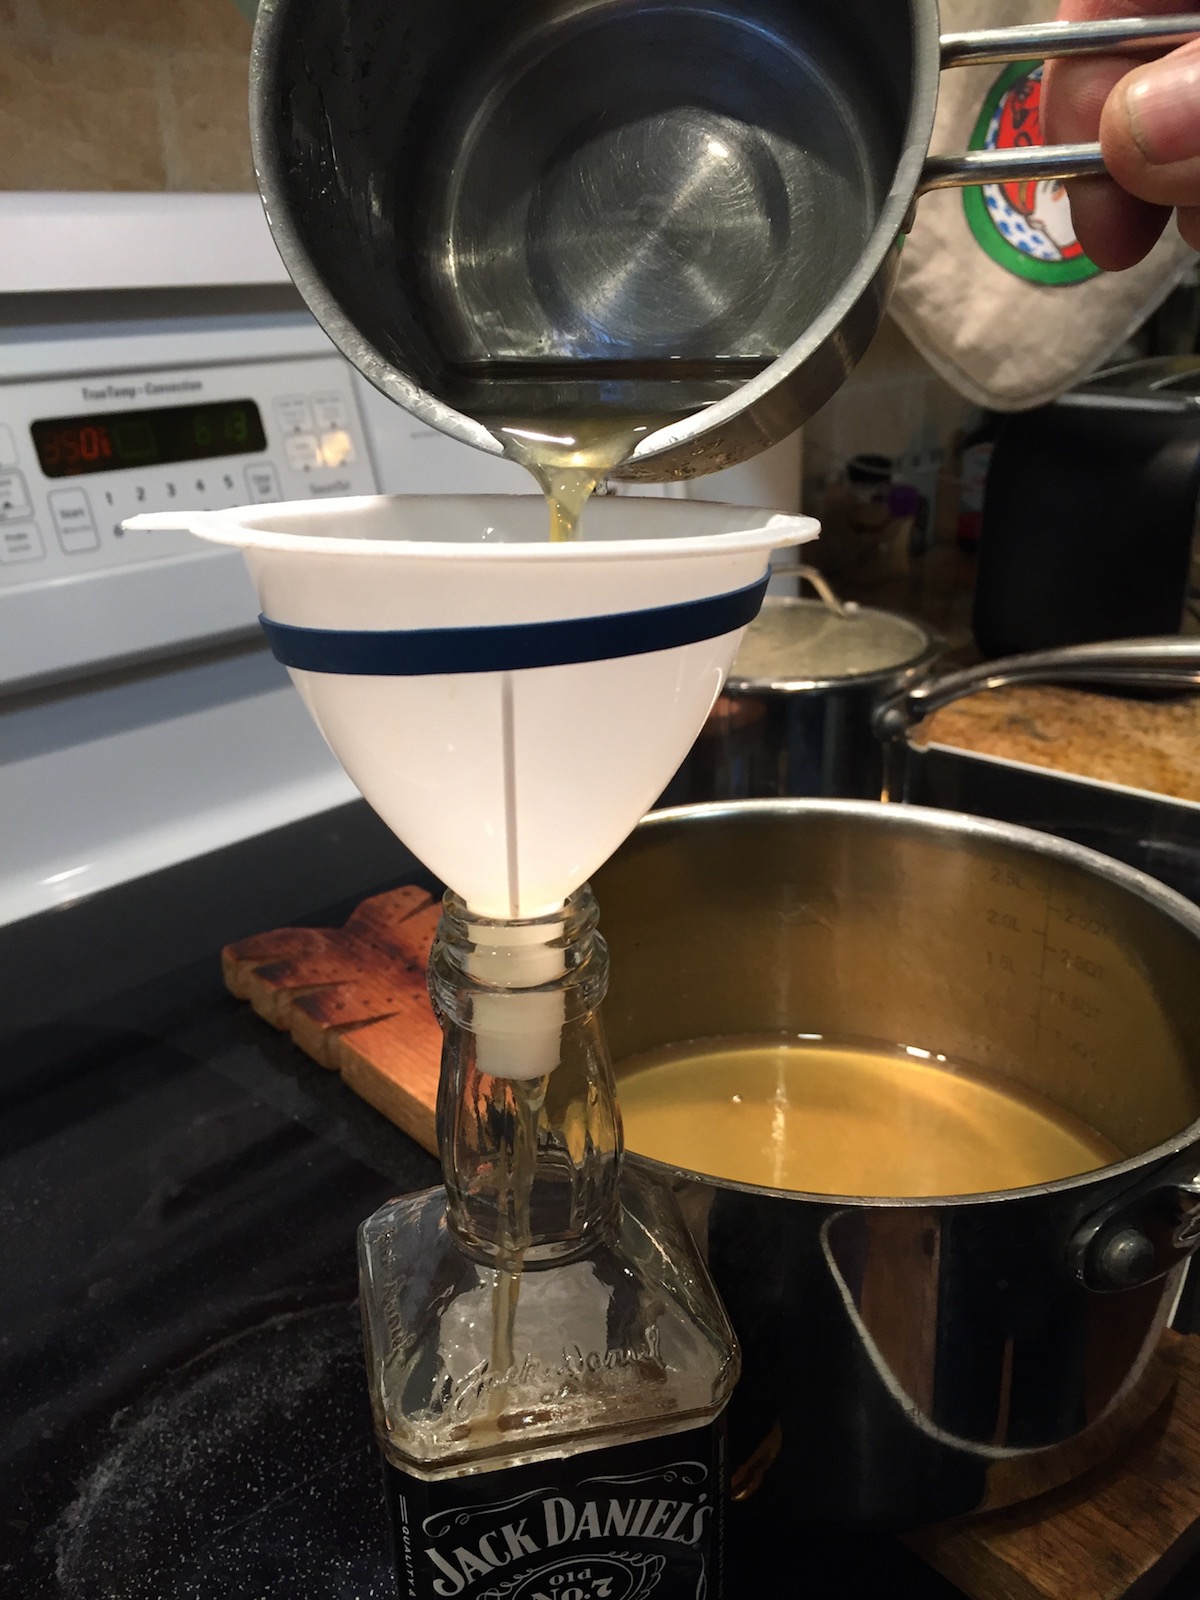
but when it takes too long to go through the filter, we decide that we don’t really care about the sediments and abandon this step altogether.
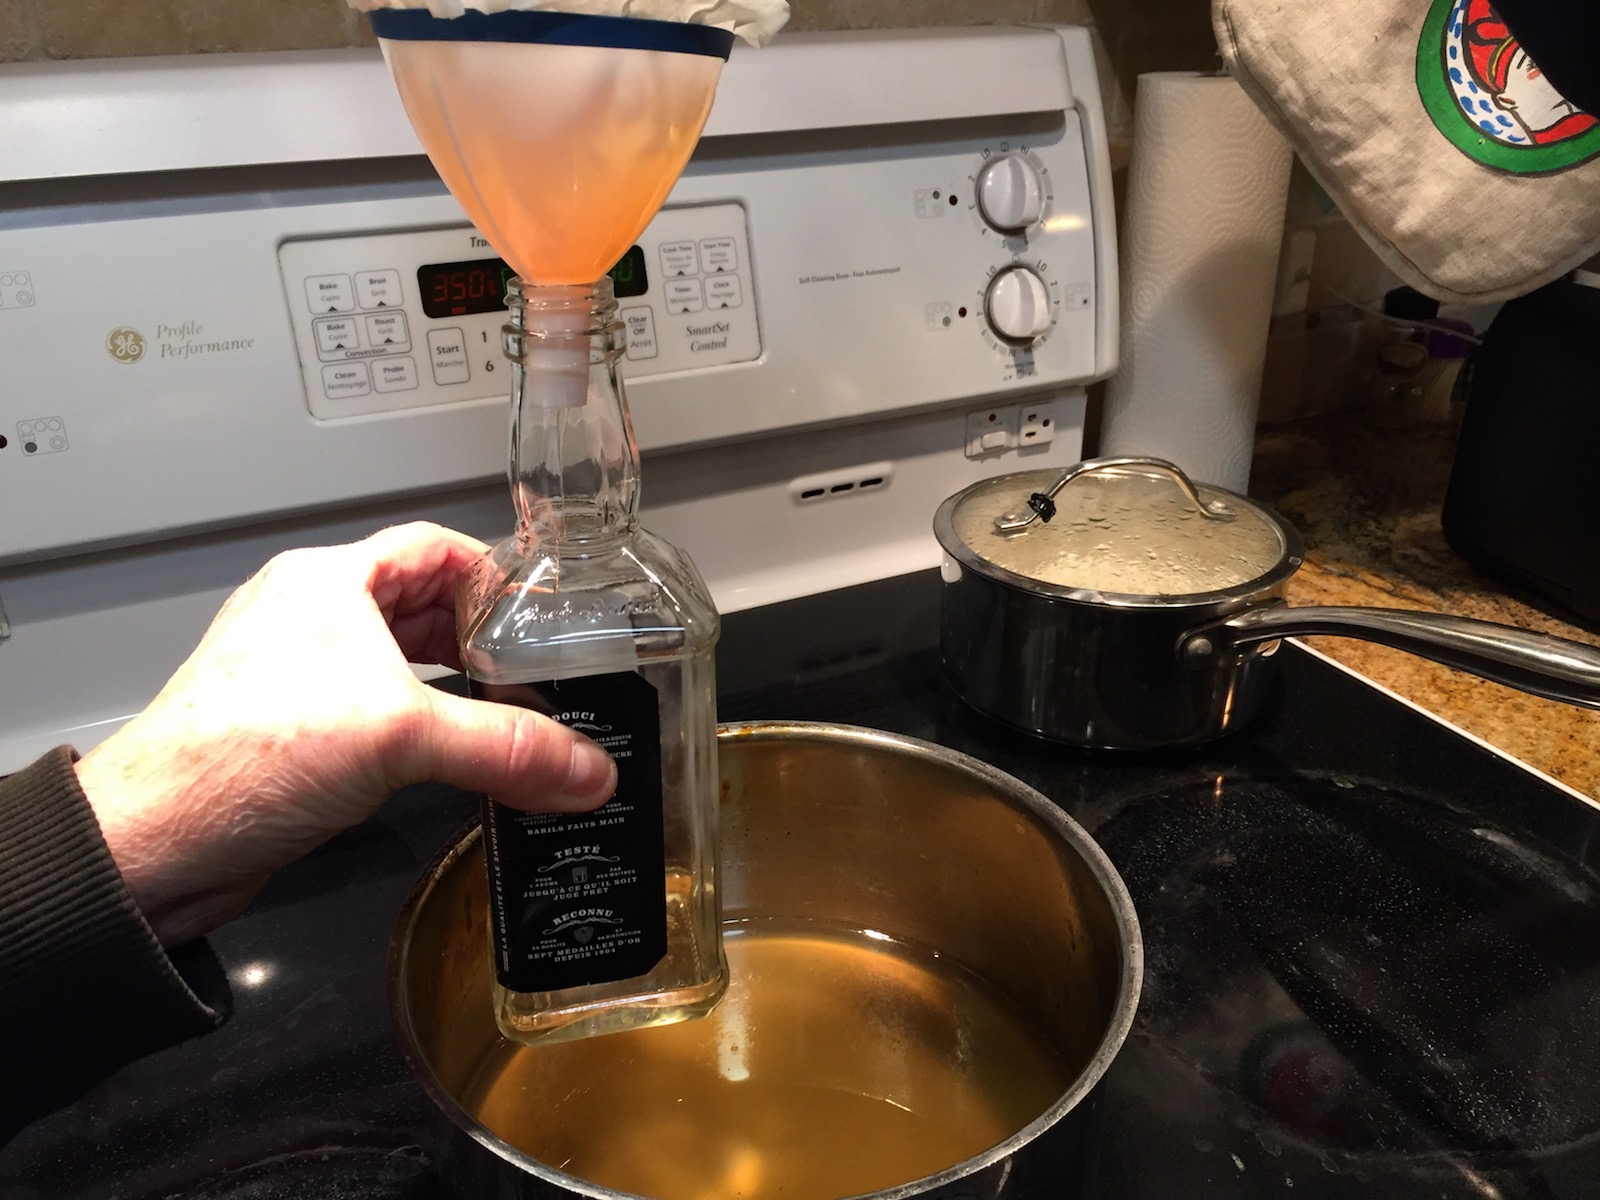
This is much faster!
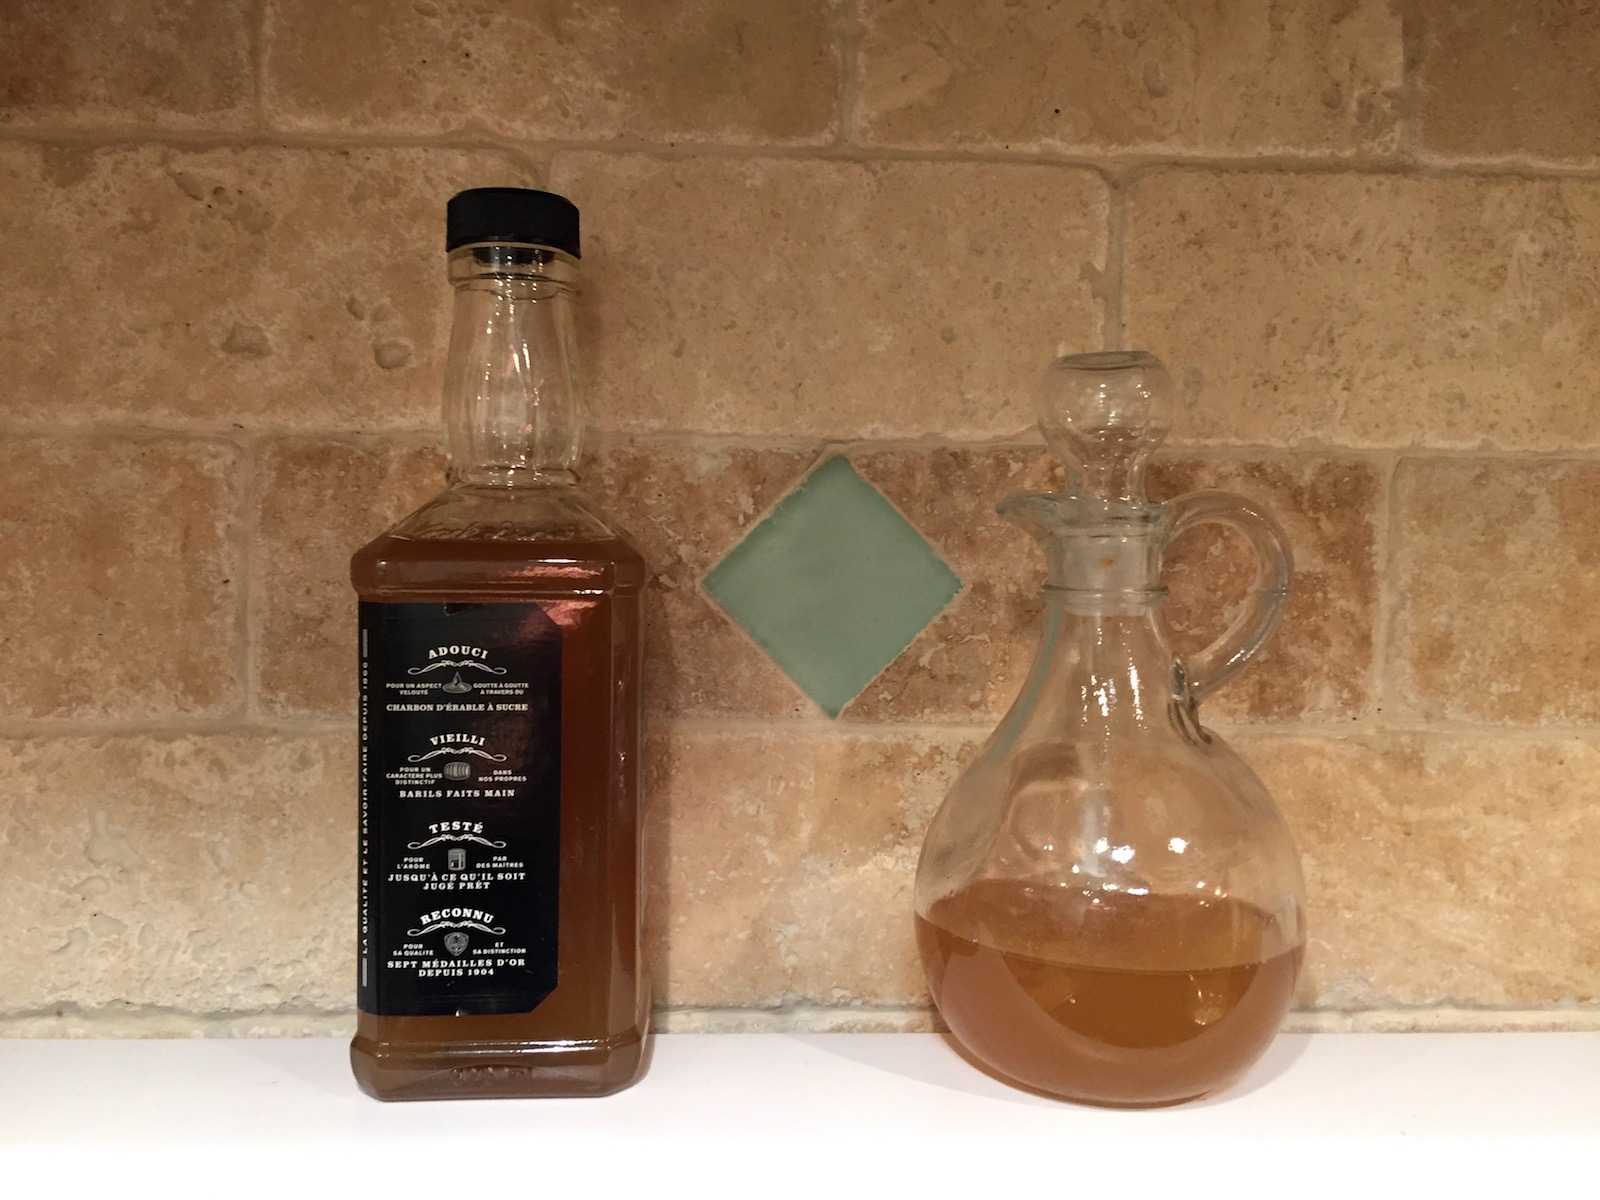
We collect bottles that look suitable for bottling the syrup. This time we save a bottle of Jack Daniels and left a small amount of whiskey in it. Lets see how this turns out.
So here we are with about 500ml of pure gold. We should have a few more batches like this to make over the next week or two, but it will all depend on the weather. Freezing nights and warmer, sunny days please!
Pancake dinner tonight!
Excellent! Enjoy it!
We will! Thanks 🙂
Wow. Very informative. I really enjoyed learning about this. Thanks.
You are most welcome! Glad you enjoyed it 🙂
2 things:
– Make a recipe postcard for us DIY’ers!
– Don’t empty the Jack Daniel’s when adding the fresh Maple Syrup.
…or empty the Jack Daniel’s when making the syrup!
Thanks for sharing
Haha, we did leave some whisky in the bottle and we did make to to almost empty it beforehand 🙂
Did you mean a recipe for making the maple syrup, or for the pancakes?
Yah, your recipe on a postcard yhat you can mail for a couple of bucks.
‘The Back Roads and Other Stories Maple Syrup Recipe’
Oh, I see what you mean now 🙂
Thanks for sharing. What an interesting process. It looks doable without a lot of impossible steps, though patience seems a virtue.
You are welcome! Maple syrup making is certainly doable and fairly easy. Depending on the method that use, it can be fairly hands free and low tech. Patience helps, but even that is not really a requirements because we don’t really think much about the sap dripping out of the tree while we go about our daily chores 🙂
Awesome! How I would love to taste it!
Common over 🙂
I wish I could!
–Pam
Me too 🙁
That looks so amazing how you did that! Enjoy your pancake dinner!
It was a lot of fun to make! Thank you!
Fascinating!
Great idea, to leave a bit of whisky in the bottle! 🙂
It turned out great!
You illustrate well the reason for the sugar shacks, it is better not to use the kitchen.
Thank you, and yes, the sugar shack would come in very handy!
Looks yummy! Enjoy! ????
Thank you! It was delicious 🙂
I love this process! Thanks for sharing with all of us! Cant wait to hear what you use it for and how soon you can!
Thanks, John! We can use the syrup right away and indeed, we made pancakes as soon as we could 🙂 Post coming.
Congratulations! Funny as it sounds, I find this activity a “very Canadian” thing to do…but it certainly does yield delicious results. Enjoy your creation! 😛
Well, I guess it is a very Canadian thing to do (and New England for that matter). I think that there are a few of us out there tapping our own trees for homemade maple syrup 🙂
Mmm looks delicious. Were you able to taste the Jack Daniels flavour in the maple syrup?
We could! There’s a hint of smokiness, which is great because we miss the smoky taste of the syrup that is reduced on open wood burning fire. We may start adding a few drops of whiskey in the future.
fascinating; I am sure it is going to taste terrific; those pancakes will taste extra good tonight! interesting twist with the bit of JD in the bottle!
They sure did! And the whiskey one was amazing!
I hope you didn’t have that one at breakfast! 🙂
Haha, it was at night! Phew, dodged that one…
well if you had it for breakfast, you could have had an early nap…
🙂